




More affordable utility bills, a more comfortable home, and reducing pollution all sound great, but figuring out where to start can feel overwhelming. At least, it was for me. Luckily, the team at the Weber State Sustainability Home is making it easier to uncover areas in our homes to cut energy waste and costs.
Recently I had the chance to try out Weber State’s “Energy Detective Kit”, a toolbox full of supplies to help you perform your own energy audit at home. Inside, there was a thermal camera, a wattmeter that plugged into the wall, a screwdriver, a purple cup, a thermometer, and finally a magnifying glass (it is a detective kit after all).
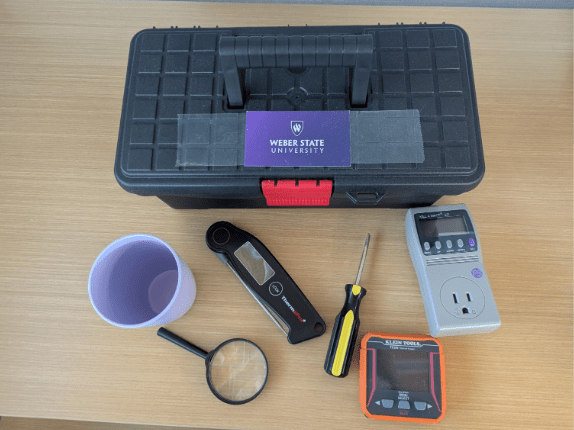
I tested it out in my midcentury rental home, which seems like someone started renovating about a decade ago and gave up halfway through. It’s a hodge podge of brick, white paint, original windows, and weird plumbing. I used the kit at the end of April when it was about 40 degrees Fahrenheit, and rainy outside. Using this kit on a day with more extreme temperatures made it easier to identify heat loss and air leaks with the thermal camera.
Through the Lense of a Thermal Camera
Let’s start with the thermal camera. I used it on all my windows, doors, walls, outlets, and my cat.
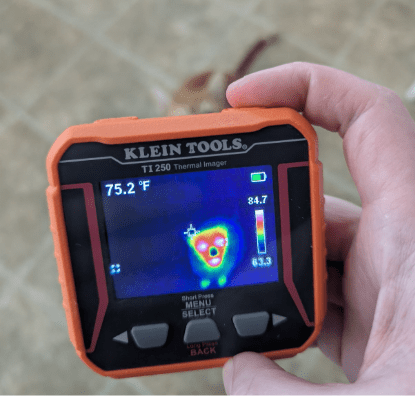
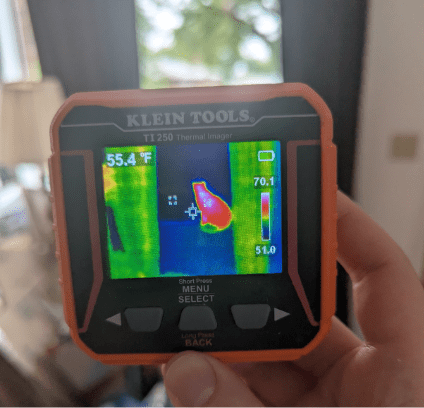
The thermal camera allowed me to see temperature differences throughout my house. It quickly revealed where the weatherstripping on my doors was missing or damaged. I also learned that the walls in my bay windows were not insulated and were about 8 degrees colder than the rest of my walls.
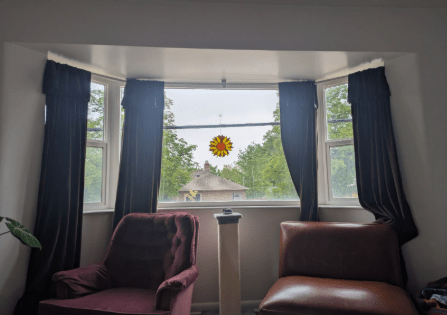
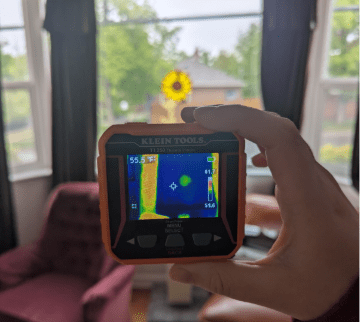
About half of the windows in my house are still original single-pane glass (likely older than my grandparents), while a few of the windows have been replaced with double pane. When comparing the temperature difference between the old and new windows, I was surprised to find that the original single pane windows were 5-10 degrees colder than the updated ones.
The Easiest $5 Fix I Wish I Knew Earlier
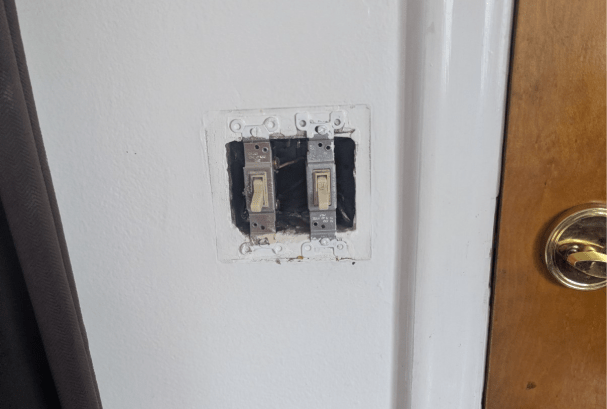
One thing I had never considered before using this kit was checking to see if the outlets on my exterior walls were insulated. Cold or hot air can leak through the outlets and into your home. I used the screwdriver provided in the kit to remove the plates of all the light switches and outlets on the exterior walls. Overall, my thick plaster walls didn’t leak much, but there was about a 5-degree difference in temperature. A quick trip to my local hardware store and $5 worth of tiny foam insulation for the outlets solved the problem.
Busted! Hot Water Heater and Inefficient Appliances
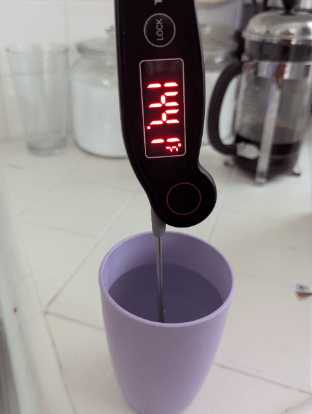
I used the thermometer and purple cup to check the temperature setting on my water heater. After letting the faucet run until it got hot, I filled the cup, and stuck the thermometer in. Energy efficiency experts recommend keeping your water heater at 120 degrees, but I learned that mine was set to 145 degrees. Yikes! Lowering the temperature on your water heater not only cuts the amount of gas your water heater uses (which means less emissions from gas combustion) but also reduces the risk of getting burned by hot water.
A Tale of Two Homes
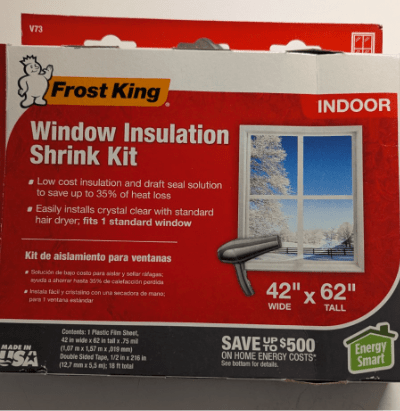
When using this kit at a friend’s basement apartment in a house that was built in 1926, we uncovered a different set of energy efficiency issues. Like mine, her windows are also single pane with wood frames, but even older. She had installed window film on some of the windows to prevent air leaks, and we used the thermal camera to detect heat loss. We found that the window film was less effective at preventing heat loss, with a difference of only a few degrees. To be fair, the packaging only promised to prevent up to 35% of heat loss. On the other hand, we were able to see that the insulation she had installed on her air conditioning unit, combined with the shrink wrap, was very effective in preventing heat loss.
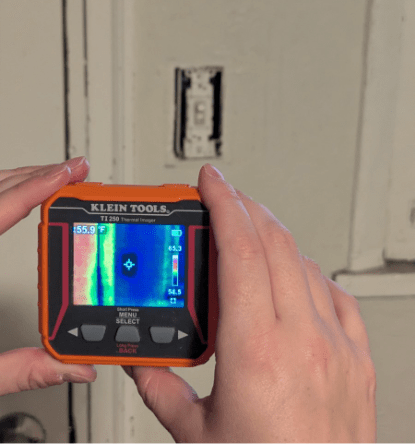
The outlets in her apartment were much leakier than mine. Using the thermal camera showed us that there was a difference of about 11 degrees between her walls and the outlets. She also struggles with air leaks and heat loss from an unsealed fireplace in her living room. In fact, she mentioned that when it hails outside, the hail flies out of the fireplace and into her living room! Surprisingly, we measured only about a 6-degree difference in temperature from the fireplace.
Vampire Loads and Such
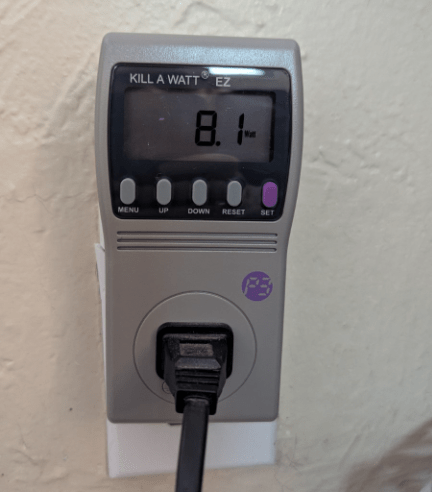
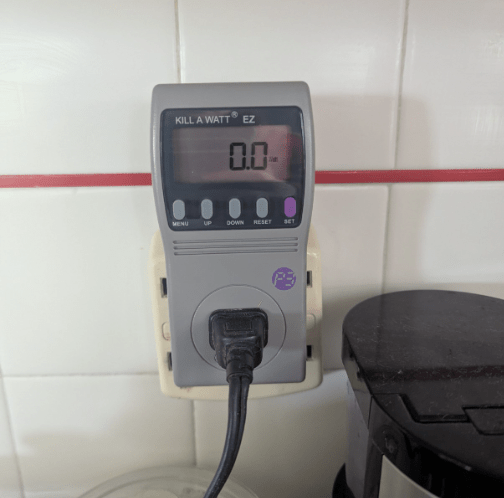
When testing her appliances, we encountered “vampire loads” which is when a device uses energy even when turned off. The best way to combat this is to unplug these appliances when they’re not in use. Her TV, for example, used 8 watts while turned off, and 23 watts when on.
Finally, we found that the temperature of her hot water heater was around 130 degrees, which is not far off from the recommended temperature. However, as a renter, she can’t adjust the temperature. Obstacles like this are common for renters when trying to make energy efficiency changes. This handy Renters Energy Efficiency Guide offers helpful ideas on how to navigate energy upgrades as a renter.
Become a Home Energy Detective
Our houses are by no means “efficient”, and there are still several upgrades our landlords could make, but this detective kit showed us meaningful improvements do not always require major renovation or large investments. Small upgrades are possible without haggling with our landlords. Overall, I spent about 20 dollars on outlet insulation, new weather stripping, and LED lightbulbs.
With a kit like this, everyone can make these small changes to make their home a bit more energy efficient, and the world a bit healthier.
If you’re interested in becoming an energy detective to make low-cost upgrades where you live, consider attending a DIY Energy Efficiency Workshop or borrowing the Energy Detective Kit from the fantastic team at the Weber State Sustainability Home.



 We would like to clarify that Utah Clean Energy is not a solar company. We are a nonprofit organization that advocates for solar and other clean energy technologies, but we do not install or sell solar in any way.